Your Cart is Empty


Step 1A: Measure
Put on your watch and position it to where you want it to sit on your wrist. Pinch the slack and count the excess links, keeping in mind the placement of the clasp, which should be centered on the bracelet.
When possible try to take out an even number of links from each side of the band, so that your watch will be balanced and sit evenly on your wrist. For example, if two links need to be removed total, you should be removing one link from each side of the clasp.
Step 1B: Adjust Clasp (Optional)
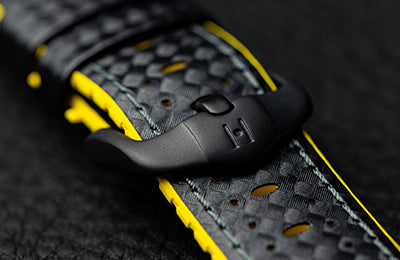
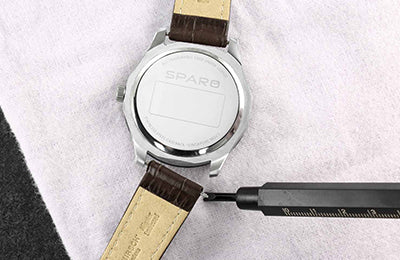
Some metal watch band designs have a minor adjustment area in the buckle.
If your watch band has this feature, you can make minor adjustments by moving the spring bar in the buckle in or out to slightly alter the overall length. If not, proceed to Step 2 below.
Step 2: Identify Which Links To Remove
Look for small arrows on the back of the bracelet links, indicating which links are removable. Make sure to only remove links with arrows, the rest of the links are not designed to be removed.
Place your watch band in the holder so that the arrows are pointing down. If there aren’t arrows, look for the side where the pins sit further inside the hole.
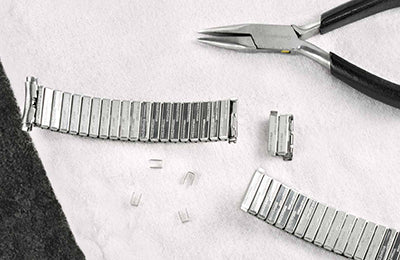
Step 3: Remove Pins & Take Links Out
Hammering in the same direction as the arrows, align the point of the push-pin tool to the pin and lightly tap against the tool with the flat end of the hammer until you can no longer push the pin inside the link. If there are metal ferrules, they might fall out at this point.
The pin should slide out the other side. Use small pliers if necessary to pull the pin the rest of the way out. Repeat this step for the other links you’ll be removing.
Step 4: Reassemble Band
After all desired links are removed, put the pins back in the pinhole from the same side of the link that you removed them from. The pins fit back in one way, with the tip going in first. Place the watch band back onto the holder and use the flat end of the hammer to gently tap the pins back into place.
If any ferrules came out when removing the pins, gently tap those back into place on both sides of the pin hole. If the pins go in too easily they may not hold, remove them and bend/curve them slightly and replace them. The small bend provides some tension to hold them in place.
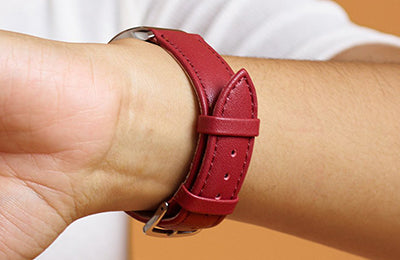
Step 5: Check The Fitting
Try on your watch. It should be somewhat loose, but if the watch can easily turn on your wrist the watch band is too loose. Properly fitting watch bands help protect your watch from sliding around and minimizes the chance of damaging it. You can also remove one link at a time in order to check as you go. Remember, your watch should be balanced and the clasp should be centered when possible.